
WRITTEN BY KATE FINAN, CO-OWNER OF BOOM BOX POST
At Boom Box Post, we are always doing our best to meet new content creators who are just beginning their professional journey. Not only are their projects incredibly fun and inventive, but we often get to walk them through the process of post-production sound for the first time. For even the most seasoned artists, writers, or producers, this can be daunting territory the first time around.
The following is a primer designed to introduce new content creators to post-production sound. It's an incredibly fun process and the final step in creative story storytelling before your content reaches viewers.
Step 1: The Spotting Session
Once your picture is locked for timing (visual effects can still be missing abd you can plan to make minor tweaks, but it is important not to make major picture changes after this point) and delivered to your post-production sound team, you will be invited to a spotting session. This should be done in person. You will sit in the same room and watch the content together, stopping whenever you would like to make a note regarding the sound. Your supervising sound editor will take notes and ask pertinent questions. Do you want the sound to be hyper-real? Should it seem more impressionistic? Is the technology in the world you've created sleek and futuristic or retro? If you're not sure how to express what you want from the sound, just describe your overall concept for the content and let the supervisor ask specific questions based on those ideas.
Step 2: Sound Effects, Dialogue, and Foley
After obtaining a locked cut of picture and spotting notes clearly laying out your ideas for the project, your supervising sound editor will divide the work among three groups of specialized sound personnel: sound effects editors, dialogue editors, and foley artist and mixer.
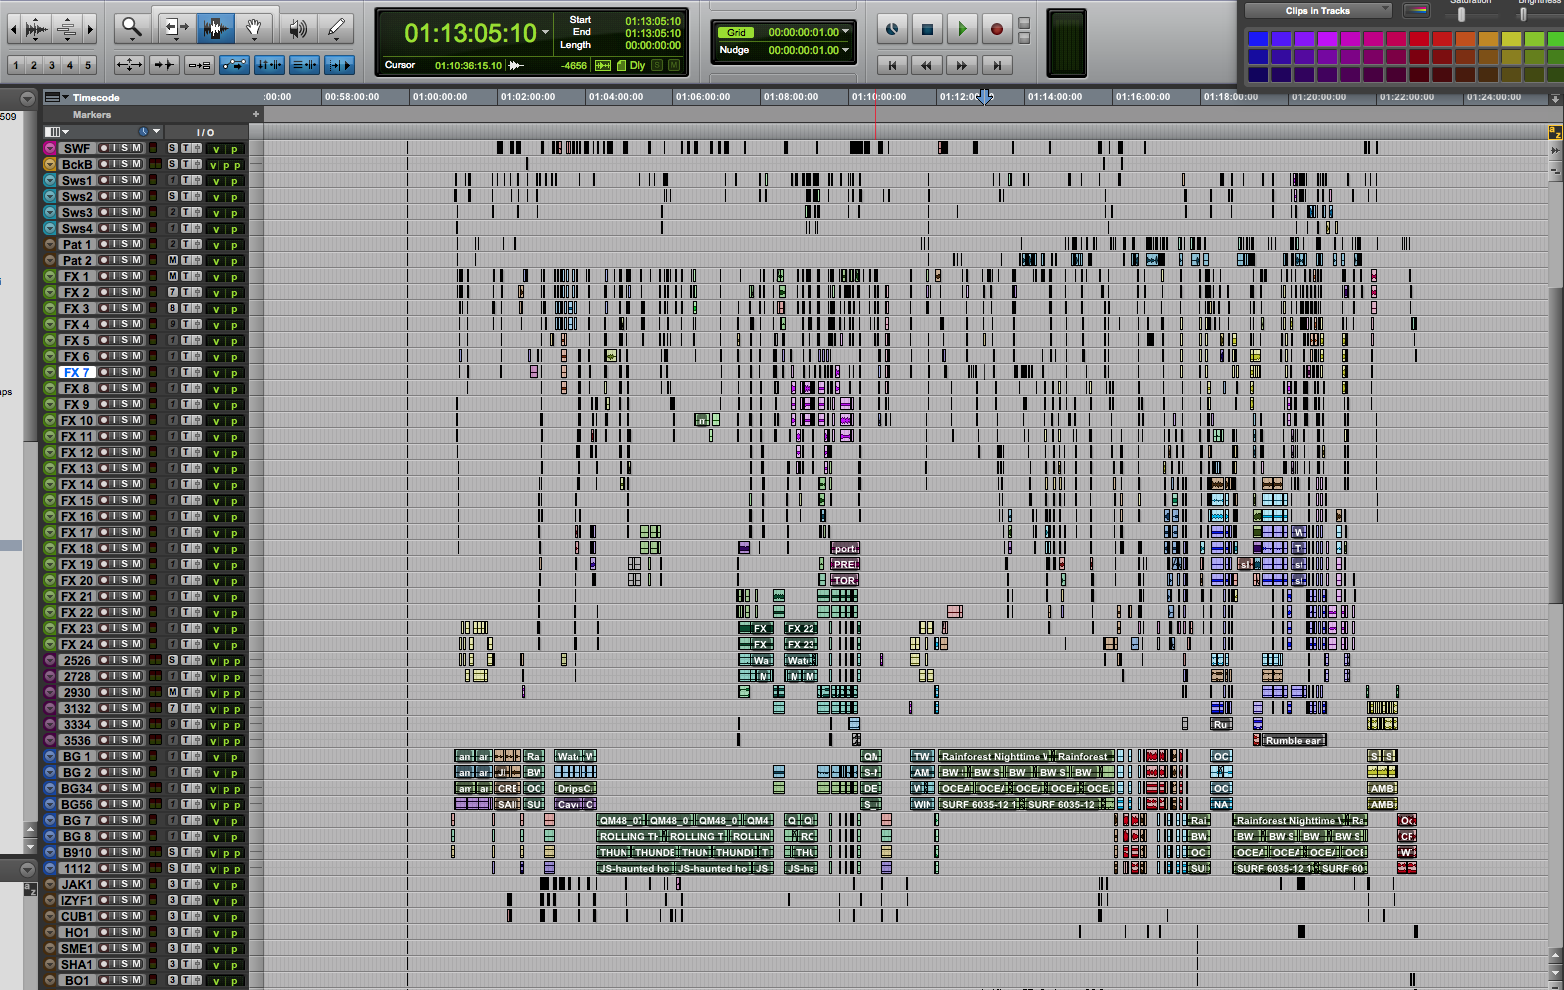
A typical sound effects editorial session for television.
Sound Effects Editorial
This is often called "sound design" by new creators. But, as that term is often thrown around to mean a very general array of things in the sound world, it is best to use the specific title of sound effects editorial here. Your sound effects editor will cover the sound for all large objects or actions on screen. He or she will create the perfect sounds for things like jail door slams, car explosions, alien planet ambiences, etc. The bulk of your general sound creation will be done by a sound effects editor.

Using iZotope RX software to improve post-production dialogue.
Dialogue Editorial
Your dialogue editor will go through your recorded dialogue with a fine-toothed comb to make sure that everything sounds as pristine as possible and is well-organized for the re-recording mixer (mentioned later). This means that he or she will remove unwanted background noise such as insects, traffic, and air-conditioner hum. He or she will also remove any clicks or pops in the audio, choose the appropriate microphone to use for each shot, and smooth out any harsh jumps between sound sources. This is a highly technical job, and while you may think that your dialogue is completely clear while listening to it on your picture editing software, you will be surprised by how much theses audio issues can compound to ruin an in-theater viewing experience.

A foley recording stage at Hackenbacker.
Foley
Foley is the art of recording a foley artist (sometimes called a foley walker) reenacting the human components of the soundscape. The foley artist performs all footsteps, interactions with props (things like writing with a pencil, picking up a glass from a table, dropping a backpack on the floor), and cloth movement of main characters. Foley is of the utmost importance because it brings a truly human quality to the sound.
Many new creators are surprised that this is necessary. After all, aren't all of these things recorded on set? The unfortunate answer is: no. So-called "shotgun" microphones are used on set because their pickup pattern is akin to a laser beam. They zero in on only the sound of one character's voice who is directly in front of them and do not pick up anything else. This is perfect on set because you will not pick up unwanted noise from the crew or other actors. It allows for absolute isolation in the final mix, but it also means that all sounds other than the actors' voices must be recreated in post-production.
Step 3: The Preview Session
Once the sound effect editorial, dialogue editorial, and foley have been completed, your supervising sound editor will compile them and invite you back for a preview session. Much like the spotting session, you will watch through the fully assembled sound work and give notes on what you like or would like to change. This is often the most exciting part of the post-production sound process as it is the first time that you will hear your project truly come to life with the addition of sound. Make sure to give thorough notes as to what you would like changed since these notes will be carried out after you leave.
Step 4: The Re-Recording Mix

One of the re-recording mix stages at Monkeyland Audio
After your supervising sound editor has made all necessary changes, he or she will deliver the master sound session to a re-recording mixer. It is now the mixer’s job to put all of the sonic elements (sound effects, dialogue, foley, plus musical score) together into one cohesive mix. This means balancing all levels so that your dialogue is clear, your music leads the storytelling with maximum effectiveness, all elements are placed in the correct physical position (called panning, or choosing whether something sounds like it comes from the left, right, or behind the viewer), and all elements are placed in the environmental space properly (with the use of reverb).
Your mixer will attempt to achieve all of these things by him or herself in the pre-dub before you arrive. After all of this has been done, you will be invited for a mix playback. Much like the spot and preview sessions, you will watch through the project with your re-recording mixer, stopping as you go to make notes on the mix. This the the right time to point out that you can’t understand a certain line of dialogue. Would you like to hear more reverb on the characters’ voices while they are inside the church? Would you prefer that the jet plane we see fly by overhead starts from the rear left speaker? These are all excellent mix notes.
Many people are confused by the term re-recording mix, but it is quite simple. All of the elements are mixed together, and then re-recorded to create your audio master (known as stems).
Step 5: The Layback
Now that you have finalized your audio, you must print it onto the video to create a completed master. This can be done either at an audio layback facility or by consolidating your digital audio master with your high-resolution video master. Once that is finished, the process is complete and your content is ready to be viewed!
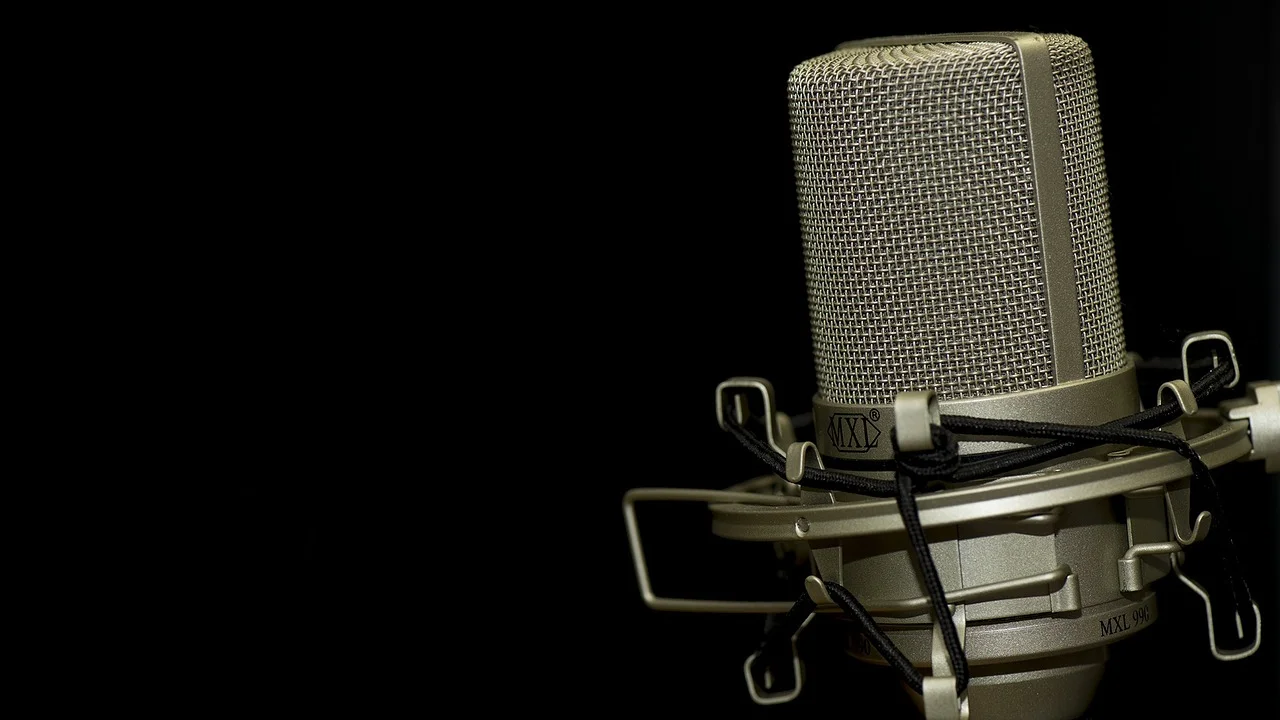
Main image credited to Fotocitizen.