

WRITTEN BY Kyle stockbridge, BOOM BOX POST
Whether you’re a seasoned field recordist or just getting your feet wet, you probably know by now it’s not the cheapest hobby. It’s a niche market that requires very specialized equipment and accessories, so it’s no surprise these companies charge an arm and a leg for their products. In my experience, when it comes to the most important pieces in your kit, IE recorder/mixers, microphones, etc, investing in the best gear your budget allows usually pays dividends in the long run. But with accessories like a synthetic fur windcover, I’m curious to see if we really need to spend $100+ to achieve satisfactory recordings. To me, it’s more important to get out in the field and start recording rather than waiting to afford the perfect setup. So with that being said, let’s try making a DIY windcover!
Before we get into the DIY, I’ll give you a rundown of my setup and windcover needs. I’m using a pair of cardioid microphones in an ORTF configuration. For wind protection I’m using the Rycote BBG Windshield for each mic. These provide decent protection against gentle breeze but without a fur windcover I find they fail to stand up to winds. I’m going to create two faux fur windcovers for these BBGs and see how they measure up!
What You’ll Need
Your material needs may vary depending on size, shape and the quantity of windcovers you’re making. In my case, I bought enough materials to make 3 small windcovers which cost me a grand total of $30. Granted I already had the sewing supplies and lucked out with a sale at Joann’s but no matter how you look at it, $10 per windcover is an absolute steal compared to $50+.
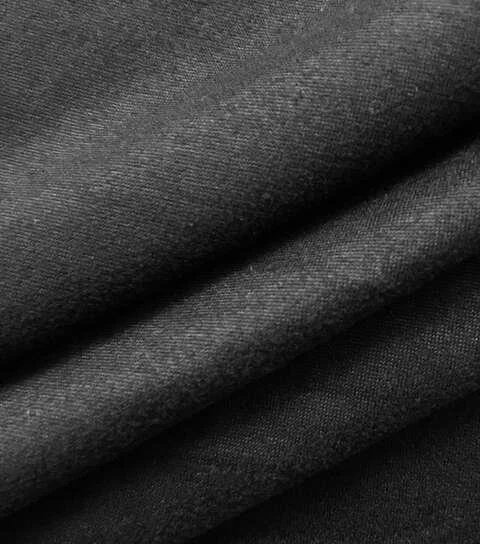
Faux Fur. I used 1/3 yard from Joann. This particular Faux Fur has a 57” width.
Jersey Knit. You can use any lightweight, acoustically transparent fabric to line your windjammer, I went with 1/3 yard of Jersey Knit from Joann.
Elastic Cord. You’ll only need a 1-2 feet per windjammer.
1x Dual-Hole Spring Cord Lock. Be sure the hole diameter works with the width of your cord!
Access to a sewing machine. If you’re experienced with hand sewing, this may not be a dealbreaker for you but it was necessary for me.
Sewing kit: thread, needles, pins.


Recommended Supplies
Fabric Scissors. This made my life so much easier. Regular scissors just don’t…cut. . . it . . .
Scrap fabric for making mockup versions to test fits and sizing. I used an old pillow case, an old t-shirt would work well too.
Drawing compass to draw your template.
White Fabric Marker/White Chalk for marking your cutting guide lines on the inner lining fabric.
Plastic Zipper-Pull Cord Ends: Give it a super professional look.


Process
I started by drawing a mockup of the vision I had for the furry windcover. In my case, I’m creating a cover for the Rycote BBG windshield, which happens to resemble a smaller, more spherical shape than your typical blimp-style windshield.
My idea was quite simple: Create a furry drawstring bag to fit the size of the sphere. If I sew two layers of faux fur and two layers of lining fabric, I can turn it all inside out I’ll have a lined, furry windscreen right? With a little luck it may just work.


Step 1. Making a Template
I set out for trial and error with the scrap material. I cut out a few different styles of oblong circle shapes from the fabric and sewed the layers together to get a feel for size. After a couple tries, I honed in on the appropriate size and shape of the template I’d need for the layers.
Using the drawing compass, I drew and cut a template from standard 8.5” x 11” copy paper. Since I planned to fold the bottom edge of the faux fur over and create a seam to hide the raw edge of the fabric, I left about 2 inches of extra length. I marked lines on the template to indicate this.


Step 2. Cut The Fabric
Using a sharpie for the fur and chalk for the liner, I traced a line around the template to create a guide on the fabric. With the fabric scissors, I very carefully cut out each layer.
Tip: If you want all of the faux fur to flow the same direction toward the front of the windcover, be sure to draw your templates from the same edge/side of the fabric.


Step 3. Sew the main seam
Now if I was more experienced with a sewing machine, I’d probably dare to sew all four layers of fabric together in one go. But since I’m a VERY inexperienced sewer, I elected to sew only one layer of faux fur to the two layers of lining fabric for the first pass.
As seen below, I utilized pins to keep the layers in place as I sewed.

Once these three layers of fabric were successfully sewn together, the next step is to attach the remaining faux fur layer. With the furry sides facing each other, I carefully sewed along the existing seam. Then I turned this little pouch inside out to reveal a furry little hat!
Step 4. Sew The Drawstring Channel Seam
I turned the furry hat back inside out and folded the overhanging faux fur upward for one last seam. This will accomplish two things: 1 it cleans up the edge of the windcover so there are no exposed fabric edges posed to fraying. 2, it allows a channel to run the elastic cord through to cinch the windcover shut over the windshield.


Step 5. thread the Elastic Cord for the Drawstring
I created a small incision through the lining fabric and used the drawstring threader tool to run the elastic cord through the channel. With the cord strung through the channel, I snipped the cord and threaded both ends through the plastic cord stopper. The final step was to tie a double overhand knot.

STEP 6. TEST IT OUT!

From a quick A/B comparison between the mic WITH the DIY windcover and the mic without: my first impressions are that the windcover DEFINITELY protects against wind more effectively than without. I’ve also noticed some subtle differences in terms of level and frequency response which has motivated me to do some more testing. All I can say is that from one ambience recording test, this windcover is more than sufficient to get back out into the field and make some recordings!
I hope you’ve enjoyed this DIY. Stay tuned for follow up blog post that will feature more testing and results!
have you ever created diy FIELD RECORDING GEAR? share your ideas in the comments!
If you enjoyed this blog, check out these:
TOP TIPS FOR EFFECTIVE FIELD RECORDING TRIPS
DIY ACOUSTIC PANELS FOR YOUR HOME STUDIO
TOP 4 TIPS FOR RECORDING WATER SOUND EFFECTS