WRITTEN BY JEFF SHIFFMAN, CO-OWNER OF BOOM BOX POST
The art of foley is an amazing magic trick that can really bring a production to life. If your project has the budget for custom foley, I would highly recommend taking advantage of skilled professionals to help bring this element of your soundtrack to life. That said, not everyone has the money and access to a professional foley team. Never fear! You can be your own foley team with incredible results. All from the comfort of your home, at little to no cost.
Why custom recordings?
There was a time of course, where everything for a soundtrack was recorded. Nowadays, sound libraries are an amazing tool at our disposal. However vast, libraries can’t necessarily fill the exact needs of every project. Or maybe you find the perfect sound but are only given one or two options to work with. Shameless plug… this is a situation we remedy by including lots of options in our own original sound libraries at boomboxlibrary.com).
Additionally, keep in mind that anything you record is entirely unique to you and your project. That’s great sound design! Of course use libraries for the nuts and bolts of any project, but pick out a few special elements to record on your own, giving yourself a completely original palette to design from.
What are some examples of props easily recorded at home?
We are humans, surrounded by junk we have collected. Put it to good use! Look around your home with your sound editor brain and start to think of things in a new way. Get creative. I find that small props (like writing with a pencil, bubble wrap, cardboard handling) are all best served with custom recordings. This allows you to control the performance, tailoring to your exact needs. After all, handling a cloth pass entirely with a library is a tedious task that could be accomplished in a fraction of the time with a live recording.
Of course, don’t limit yourself to props. Remember that small recordings can become BIG builds. With pitching and processing, the right source materials can really let your creative brain fly.
As a jumping off point, here are some great examples of what you can record at home:
- Source vocals for monsters, robots, aliens
- Stressed materials like creaking wood, rubber stretching
- Foliage movement like leaves shaking and brush movement
- Body interactions like head or beard scratching
- Specific toy props
When I worked on a series that needed mutant mushroom movement, I scoured the house for “squeaky” sounding items. Ultimately, I found that if I rubbed together layers of my wetsuit (acquired for surfing… this is Southern California after all), I got this super strange and unique sound! I was able to “perform” the wet suit to produce all kinds of different pitches.
Experimenting further, I found that snapping the wetsuit created a great rubber “pop” sound.
I then chopped up and rearranged these layers to give the mushrooms a true personality of their own.
This is just one example of thinking creatively with home prop recordings. The possibilities are endless.
The Low Cost Lowdown
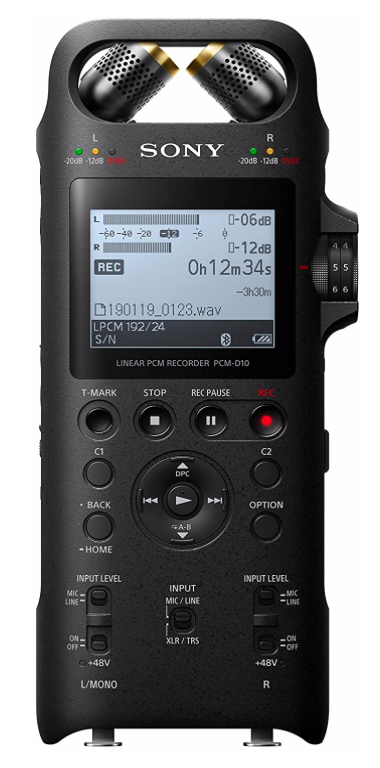
Here’s the thing. You can get amazing recordings these days on a smart phone. Trust me, I’ve already blogged about it. And since writing that post over three years ago (we’ve been at this a while), the tech has only gotten better. But ok, if you really want to go Pro-Am with your home recordings, you can purchase a portable recorder. That’s a tool you’ll not only have for home recording, but one you can keep in your day bag to have on hand any time the sound design muse comes calling. A worthy investment.
We could do an entire post on portable recorders (and probably will). For now however, I polled our team (all very experienced guerrilla recordists) and they suggested the following listed in price from highest to lowest:
SONY PCM Portable Recorder
The Setup
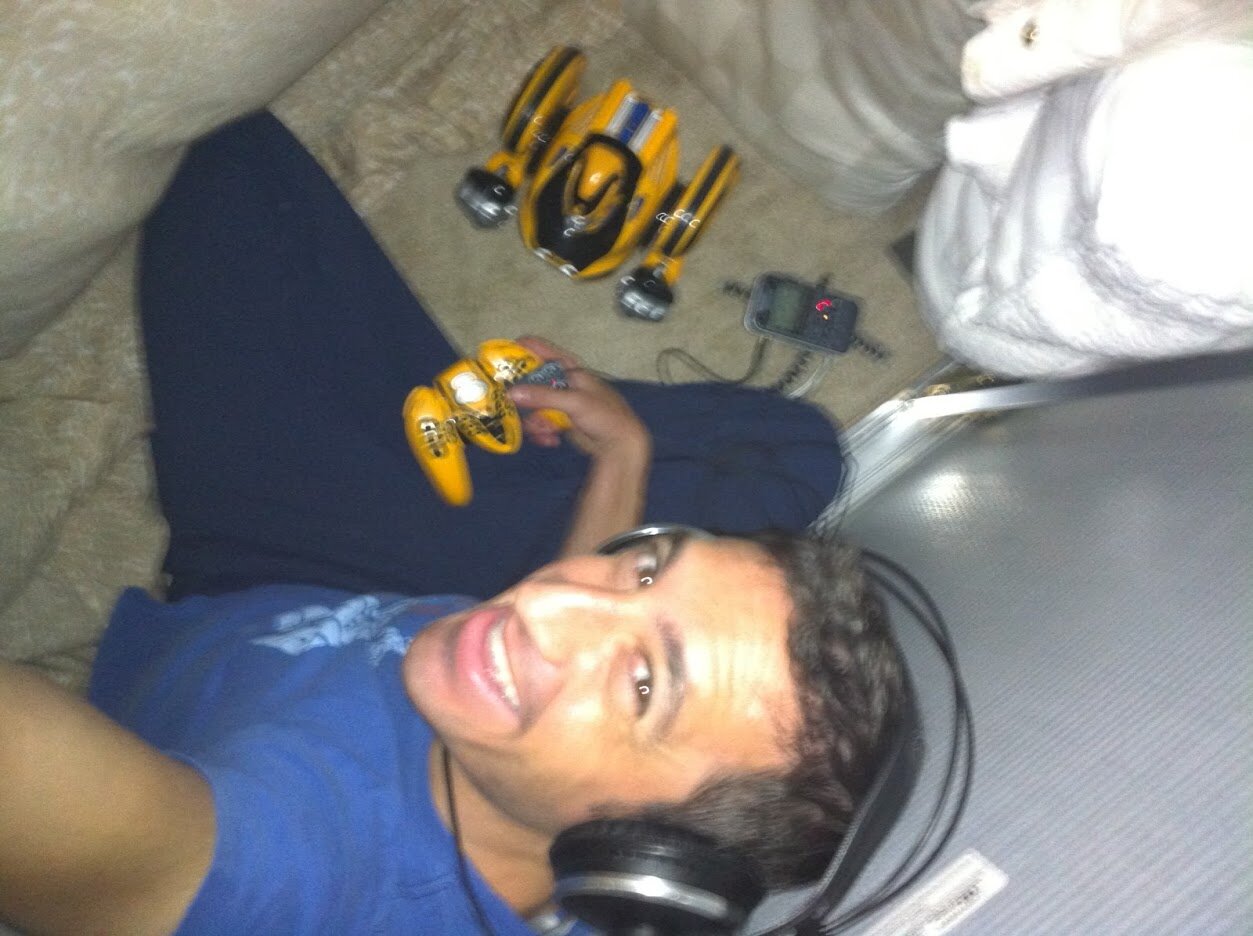
You’ve got your phone or your recorder, now it’s time to set up your recording space. Of course, the quieter the better so try and avoid recording near shared walls, doors or windows. To keep your recordings free from room reflections (the sound bouncing off the walls) you want to record in as “dead” a space as possible. In fancy studios, this is achieved with dampening measures; padded walls, high end sound diffusers and traps. So what space does the average home have that is isolated and pre-treated to be dead sounding? The answer is in your closet. All of the hanging clothes in a typical closet provide tons of free sound absorption, and the doors provide isolation. If your closet doesn’t have a light, or the light is noisy, get yourself a headlamp. Trust me on this, I’ve done it. A lot. And in some very small closets. Realistically all you need room for is yourself (cramped if necessary, as we suffer for our art), your recorder, your props, and if necessary a playback screen. Which brings me to my next point…
Picture Playback and Recording
If you want to record in sync with picture playback, I’ve got a hack for that as well. Save your video file somewhere you can access it on your phone or tablet;I like google drive. Voila, instant playback device. Mute the sound, and start playing back with ample lead time. Start the recorder and then verbally count down by the second along with the timecode prior to your performance. This will give future you a reference point for syncing up your recordings in Pro Tools later on. A few seconds worth should be enough to lock it in. Before you wrap up, always remember to record a few seconds of room tone so you have it for potential de-noising later on.
Final Tips
Guerrilla home records aren’t perfect, but they can come pretty close. With the ability to custom record as close by as your nearest closet, you have the ability to unleash your creativity at virtually no cost.


